Trimming and cutting video clips is an easy way to polish your videos — and you don't need to be a pro editor to do it.
While trimming focuses on shortening a clip at the beginning or end, cutting removes segments altogether. Whether you're deleting unnecessary parts, removing filler words, or creating shorter videos for social media, these simple editing techniques can refine your footage.
Read to learn how to cut a video, regardless of your chosen device or operating system.
The Easiest Way To Cut and Trim Your Videos
You don't need expensive software or technical editing experience to cut and trim videos. Captions removes the learning curve with a user-friendly interface that makes editing more accessible. With features like automatic trimming and captioning, you can save time and focus more on creating high-quality content.
How To Cut and Trim a Video in Captions
Follow these steps to cut and trim your videos using Captions:
- Import your video — Open Captions and import footage by clicking "Upload a video."
- Select the video timeline — Tap anywhere on the timeline to bring up editing options. This is your workspace where you can choose which sections of the video to modify.
- Split a clip — To remove a portion of the video, first split the clip at the beginning and end of the section you want to delete by tapping “Split Shot.” You can also use “Ctrl + K” or “Command (⌘) + K” on your keyboard if you’re using a Windows computer or Mac device, respectively.
- Cut or delete the clip — Tap on the clip in the middle and choose “Delete Shot.” You can also use the backspace or delete key on your keyboard.
- Use automatic trimming — For even quicker edits, you can use Captions' AI Trim feature. Tap "AI Trim" at the bottom of your workspace, review each portion, and tap "Trim" to apply the changes.
How To Cut or Trim a Video on a Windows PC
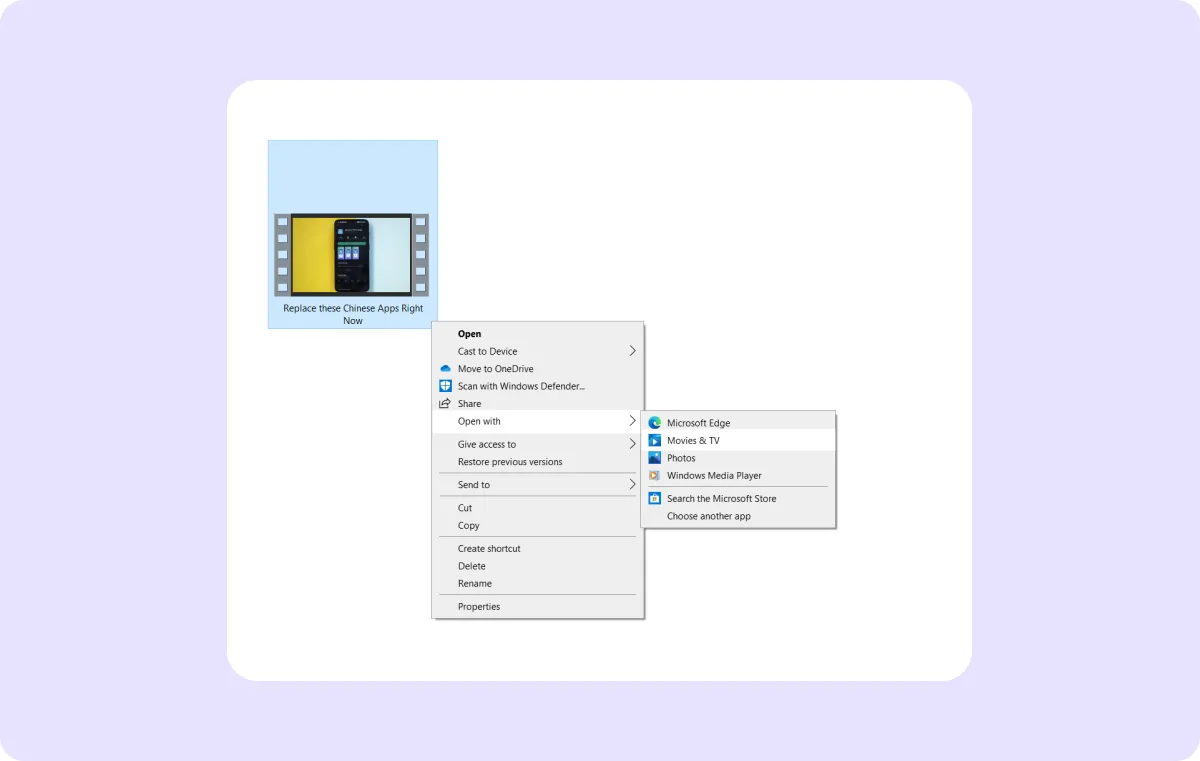
If you're using a Windows PC, you can use the built-in Photos app to refine your clips without extra downloads or trimming tools. Here's how to edit a video in a few steps:
- Open the Photos app — Start by opening the Photos app, which comes preinstalled on your PC. Click the Start menu from your desktop, search for "Photos," and launch the application.
- Select your video file — Once the Photos app is open, locate the video you want to edit and click on it to open it in the app. If the file isn’t already imported, you can find it through the file browser and open it within Photos.

- Access the editing tools — In the top right corner of the screen, you'll find an option labeled "Edit & Create," accompanied by a scissors icon. When you click on this button, a drop-down menu will appear. Select "Trim" from this list.

- Adjust the timeline and start trimming — The video's timeline will appear with white pins at each end, representing your footage's start and end points. To trim your video, drag these white markers to where you want a specific clip to start and end. Use the blue pin to preview sections of the video to make sure you're cutting the correct parts.

- Save the trimmed version — Once you're happy with the adjustments, click the "Save a copy" button in the top right corner. This will save your trimmed video as a new file, ensuring your original video remains untouched.
How To Cut or Trim a Video on Mac or iOS With iMovie
iMovie is Apple's in-house video editing tool and comes preinstalled on MacOS and iOS devices. Follow these steps to trim and cut videos on your Mac, iPhone, or iPad.
Cutting or Trimming a Video on a Mac Using iMovie
- Launch the iMovie app — Open the iMovie app on your Mac. If you can't find it, use Spotlight Search (⌘ + Space) to locate the app quickly.
- Import your video — Go to the "File" menu and choose "Import Media" to upload the video you want to edit. You can also drag and drop your clips directly into iMovie's editing workspace.
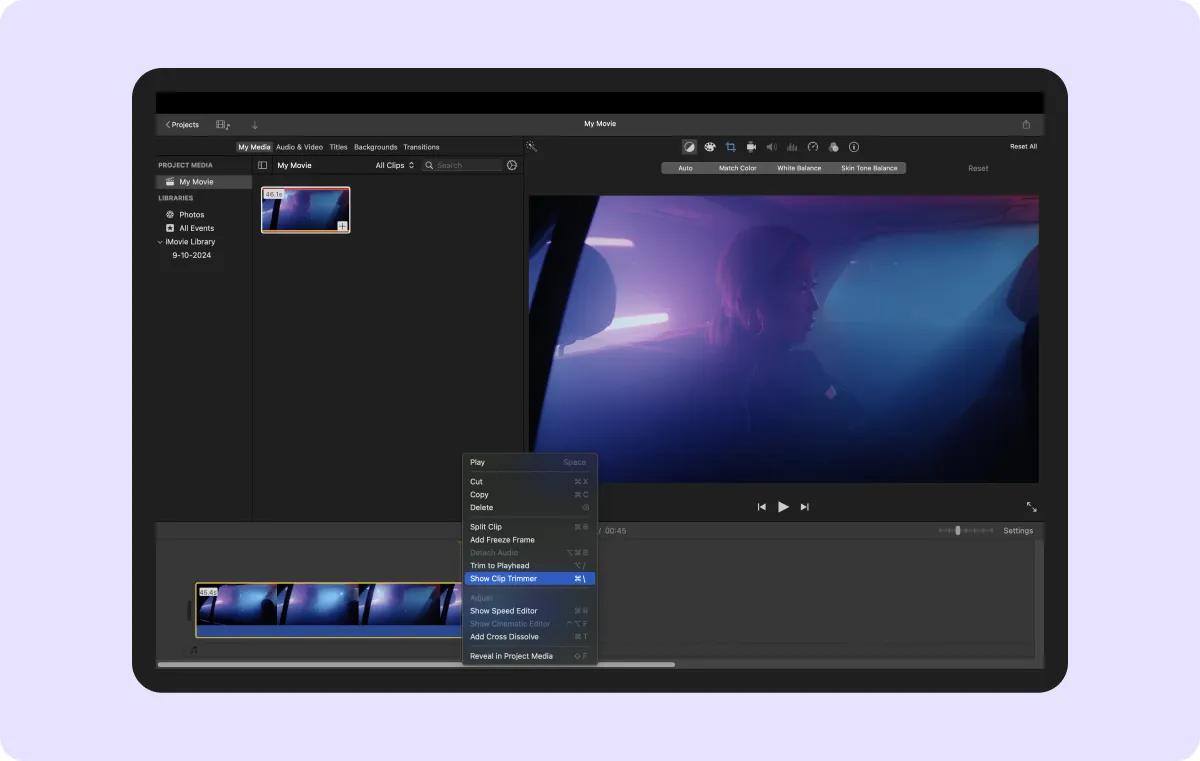
- Scrub through the timeline — After uploading your video, you'll see its timeline in the editing panel. Drag the white vertical line (the playhead) across the timeline to find the exact spots you want to trim or cut. Press the spacebar to start or pause video playback for precise timing.

- Trim or cut the video — To shorten the video from either end, click and drag the edges of the timeline inward. If you want to cut a section from the middle, position the playhead at the desired point and press "⌘ + B." Or, choose “Modify” and “Split Clip” to break the video into two segments.
- Remove unwanted sections — After splitting the video, choose the portion you want to remove and press "Delete" on your keyboard. This will cut out the unwanted part of the clip.
- Review and save — Hit the spacebar to play and review your trimmed video. If you're satisfied with the result, save the edited version by clicking the "File" menu and selecting "Save." Then, export the file to your preferred format and location.

Cutting or Trimming a Video on an iOS Device Using iMovie
- Open iMovie on your iOS device — Launch iMovie on your iPhone or iPad. Once inside the app, tap "Start New Project" and choose the "Movie" option to start editing.
- Upload your video clips — Browse your camera roll and select the video (or videos) you want to edit. Tap "Create Movie" to import the footage into the timeline.
- Adjust the timeline — The timeline will appear at the bottom of the screen. Tap on it, and you'll notice sliders at the start and end points of the footage. Adjust these sliders to determine where the video should start and end.
- Trim the video — Drag the sliders inward to cut any unwanted sections from the beginning or end of your video. If you're only trimming, tap "Done" when you're happy with the adjustments.
- Cut the video — To remove a segment, position the playhead where you want to split the clip. Choose the “Actions” button, which looks like a pair of scissors, and then select Split. Alternatively, tap the clip and slice through the playhead with your finger.
- Preview and share — After trimming or cutting, you can preview your video by hitting the play button. Tap the share icon to save the video to your camera roll or send it directly to other platforms.
How To Cut or Trim a Video on Android
No matter what Android device you have, you should be able to trim and cut videos using your phone or tablet's built-in gallery app. Here's a step-by-step guide on how to shorten videos on Android:
- Open your device's gallery app — Find and open the gallery app on your Android smartphone or tablet. This shows all your saved photos and videos in a grid, making it easy to locate the one you want to edit.
- Choose a video — Scroll through your library to find the video you want to trim or cut. Tap the clip to open it.
- Edit the video — At the bottom of the screen, you'll see an edit option, typically represented by a pencil icon. Select this to enter the editing interface.
- Adjust the video's timeline — Once in the video editor, handles will appear at the beginning and end of the timeline. To trim your video, drag these handles inward to the points where you want the video to start and end. This removes any unwanted sections at either end of the clip.
- Review your trimmed video — After adjusting the handles, press the play button to review your trimmed video. This will help you check if you've clipped the video to the exact length before saving it.
- Save the edited video — When you're happy with the new edit, tap the "Save" button. This will save over the original copy, but you can always revert it. To create a new version of the video and leave your original file untouched, tap the three dots (“More options”) and choose “Save copy.”
Edit and Enhance Your Videos With Captions
Captions makes video editing easier by using AI to cut, trim, and edit your clips without complicated software or editing techniques. Whether you're creating content for TikTok, YouTube, or Instagram, Captions provides the tools you need to create professional videos in minutes.
After trimming and cutting, use Captions’ seamless transitions between scenes. With a user-friendly interface and time-saving features, you can focus on creativity without the technical details weighing you down.


