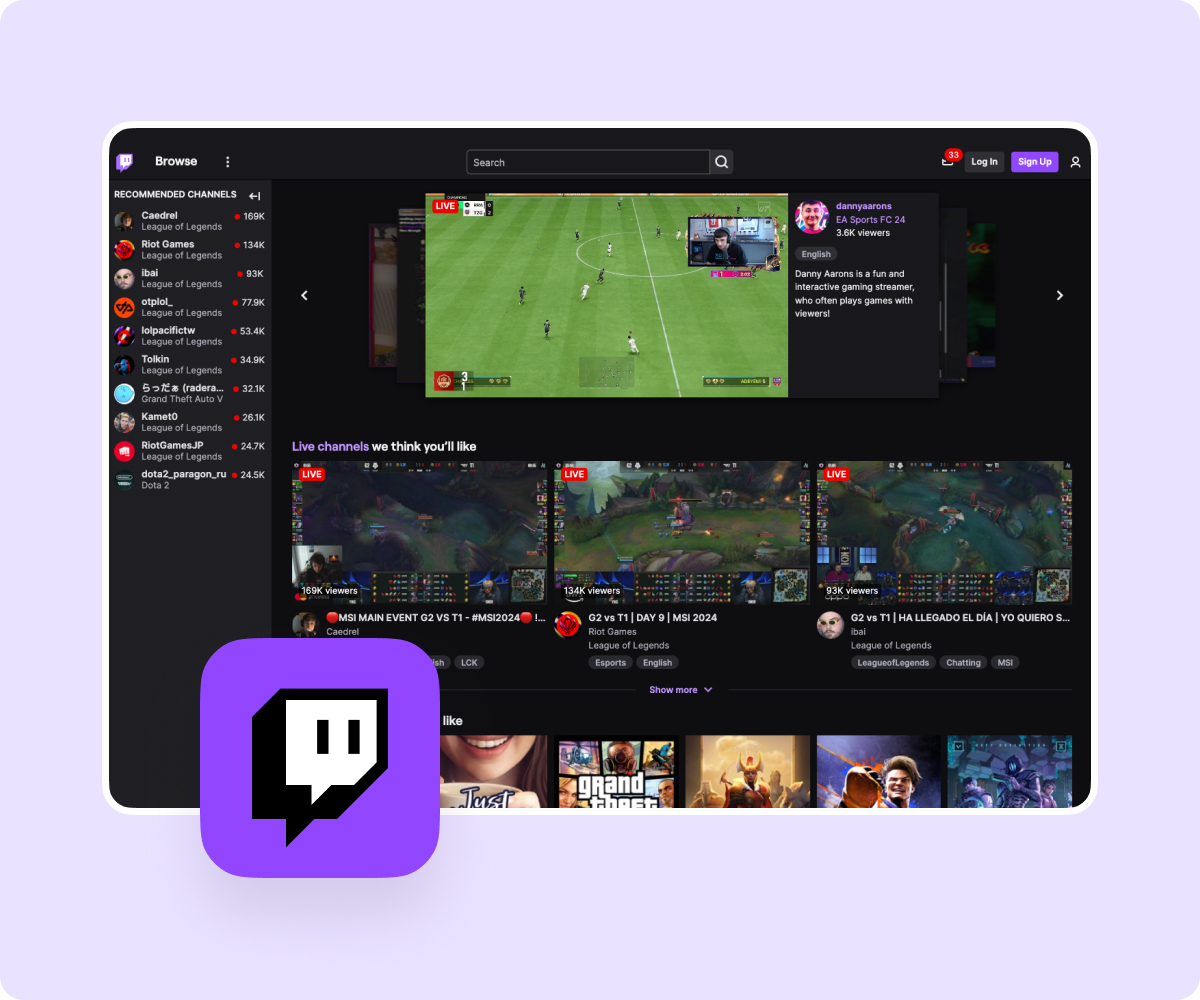
Twitch launched in 2011 and quickly grew into the U.S.’s most popular livestreaming platform. While it’s best known for video game streams and esports competitions, Twitch also hosts music broadcasts, in-real-life (IRL) streams, and creative content.
Fans flock to Twitch because the platform lets them directly interact with their favorite content creators. Learning how to stream on Twitch is a great way to build your own online community, reach a bigger audience, and monetize content through livestreaming.
Read this handy guide to discover what you need to start streaming on Twitch and how to enhance your livestreaming recordings with Captions.
Why Stream on Twitch?
Many streamers use Twitch because they love playing games and connecting with like-minded people, while others view streaming as a full-time career. Either way, by streaming on Twitch, you can enjoy the following benefits:
- Foster community and closer connections — Livestreaming drives engagement by allowing you to speak directly with your fans, making interactions more personal and authentic. This intimacy helps you forge strong connections with your viewers and build a dedicated following.
- Profit off of your passion — Twitch lets you monetize content creation through subscriptions, donations, and ad revenue. You don’t need incredible video editing skills or money to create great content — all you need is a product people want.
- Create dynamic experiences — Livestreams allow viewers to interact directly with you and each other, providing a more engaging and dynamic experience than traditional videos on Facebook, Instagram, and YouTube. This means you can offer a community engagement experience fans can’t get anywhere else.
What Do You Need To Stream on Twitch?
Although expensive tech isn’t a supplement for good content, investing in the right equipment and setup can enhance your stream and help you attract more followers. To maximize your content, you must meet the following Twitch stream requirements.
Streaming Device
You need a streaming device to create content for Twitch. While some creators use a smartphone or game console, most use a PC or laptop to encode their video and audio and broadcast their streams.
Streaming uses significant resources, so you need a powerful PC or gaming laptop that can keep up. When choosing a computer, look for one with the following specs:
- Memory — Opt for a computer with at least 8GB of RAM. This ensures you have enough memory to avoid performance slowdowns.
- CPU — To ensure a high-quality stream, you’ll need a powerful CPU. For optimal performance, choose a CPU with at least six cores, such as the Intel Core i5-11400 or AMD Ryzen 5 5600x.
- GPU — A solid graphics card creates a smooth, high-quality stream. Look for an NVIDIA GTX or RTX card (such as the GTX 1660 Ti) or an equivalent AMD card (like the Radeon 6600 XT). You don’t need a newer card unless you plan to stream next-gen games that require a more powerful GPU.
- Operating system — You can stream on Twitch using either Windows or macOS. Make sure your software is updated to avoid system slowdowns and service interruptions.
Audio and Video Equipment
Although you don’t need to show your face or talk on stream, streaming with a webcam and microphone makes it easier for your audience to engage with your content.
Consider pairing a microphone with noise-canceling headphones to limit background noise. When evaluating dynamic mics, look for ones that meet the following criteria:
- Connection type — While USBs are more popular, XLRs provide better quality.
- Polar pattern — Opt for cardioid mics, as they pick up less background sound.
- Frequency response — Aim for 20Hz–20kHz.
- Bit depth — You want at least 16-bit depth audio for a more detailed sound recording.
A good webcam is worth its weight in gold. For a more expensive option, you can substitute a webcam for a DSLR camera. Look for these specifications when choosing cameras:
- Resolution — While 720p is sufficient, 1080p provides better quality.
- Field of view — Look for 60-degree (for just you) or 90-degree (for group shots).
- Frame rate — Aim for at least 60fps for more detailed animations.
- Lens — Opt for glass to get a clearer picture or plastic to cut costs.
Broadcasting Software
Many streamers use open broadcaster software (OBS), as it’s free and offers customizable plugins. Other popular options include Restream, StreamYard, Wirecast, and Streamlabs.
Setup and Lighting
Finding your ideal Twitch streaming setup takes time and experimentation. Whether you decide to incorporate special lighting or an extra monitor, you’ll need some of the following gear:
- Lighting — In general, opt for soft lights over direct, harsh ones. Popular options include ring lights, clamp lights, and LED softboxes.
- Green screen — Using a green screen allows you to create custom backgrounds to further personalize your stream.
- Capture card — A capture card allows you to stream and record gameplay. It’s commonly used with game consoles like PlayStation and Xbox.
- Dual monitor — Adding a second monitor makes multitasking and managing your stream easier.
Creating Your Account
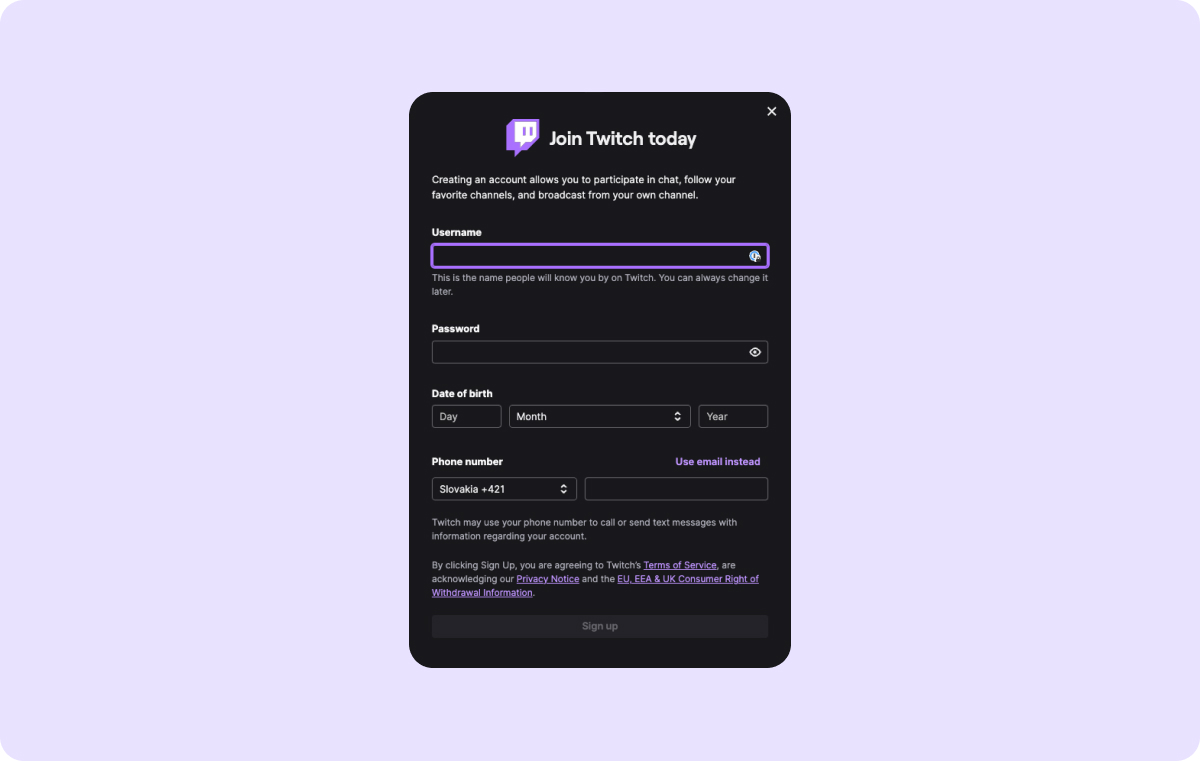
Before you can stream on Twitch, first follow these steps to create an account:
- Navigate to www.twitch.tv to get started.

- Tap the “Sign up” button in the upper-right corner.
- Type your preferred username and password into the popup window, then tap the “Next step” button.

- Enter your phone number or email to set up two-factor authentication (2FA) — this protects your account against unauthorized access. After you enter your contact info, click the “Next step” button.
- Enter your birthdate to confirm your age. Twitch is only available for people aged 13 and older, and some content on the platform is age-restricted. Next, click the “Sign up” button.
- Open the email or text message sent by Twitch to verify your account. Complete this message’s instructions to finish your account setup.
How To Stream on Twitch From a Desktop
Once you set up your equipment and create your account, here’s how to go live on Twitch on PC, Mac, or any other desktop.
Connect Twitch to Your Broadcast Software
Open your chosen broadcasting software and follow the instructions to connect to your Twitch account. You can connect your account directly through Twitch or use your unique stream key in your Twitch dashboard. Log into Twitch, click into Settings, and select “Stream” to locate your stream key.
Add and Capture Your Sources
Connect all the content sources you want to use in your stream, such as your webcam feed, microphone audio, and video or game footage. When adding audio sources, make sure to distinguish between desktop sounds and audio from your microphone.
Configure Your Settings
Customize stream settings based on your preferences, paying attention to the following options:
- Resolution — 1080p is ideal for higher picture quality.
- Frame rate — Aim for 50–60fps for smoother animations.
- Bitrate — Choose between 3,000 and 6,000 Kbps for quicker buffering and seamless playback
- Audio bitrate — Target up to 160 Kbps for optimal sound quality.
- Encoder — Options include NVENC (NVIDIA), QSV (Intel or AMD), and x264.
Enable Additional Features
To personalize your stream for compelling, engaging content, add dynamic elements that encourage user interaction. Features you can add include:
- Captions
- QR codes for on-screen links
- Copyright-free background music
- Live chat
- Scrolling text
Start Streaming
Preview your stream before going live to make sure you’re happy with the look. Once you optimize your video and audio settings, click the “Start streaming” button to begin broadcasting.
How To Stream on Twitch From a Smartphone
You can use your mobile device’s camera to stream on Twitch’s platform. Follow these steps to learn how to stream on your phone.
Get the Twitch App
Download and install the Twitch app from the Play or App Store.
Log In
Sign into your Twitch account using your username, password, and 2FA.
Open Your Profile
Click the profile image button in the upper-left corner.
Go Live
Tap the “Go live” button in the dropdown menu on the screen and allow access to your device’s camera and/or microphone.
Configure Your Stream
Enter your stream name, pick a content category, and choose the camera you want to use.
Start Streaming
Tap the “Start stream” button to begin broadcasting.
Edit Your Livestream Recording With Captions
Recording, editing, and posting livestreams with the right tools lets you maximize your time and get more out of your content. This is where Captions comes in.
Captions’ creative studio has all the features you need to turn raw livestream footage into captivating, polished videos. Use Captions’ AI tools to add subtitles, reduce background noise, and add visual elements to create engaging and accessible content for viewers.
Join Captions today and start editing your Twitch livestream recordings 10x faster.


