Six common types of cuts in film
In this guide, we explain what a film cut actually is and break down the most common types of cuts for online videos.
A film cut is when one shot ends and another begins. It sounds simple, but cuts shape the pacing and rhythm of a story. A well-timed cut keeps viewers engaged. A poorly-placed cut breaks the flow. Usually, editors aim to make cuts feel natural. You want viewers focused on your content, rather than its editing.
Mastering these techniques is easier than you might think. But first, you need the right vocab.
What are the different types of cuts in film editing?
You don’t need to memorize dozens of techniques to improve your editing. Here are six common cuts every creator should know, and when to use them.
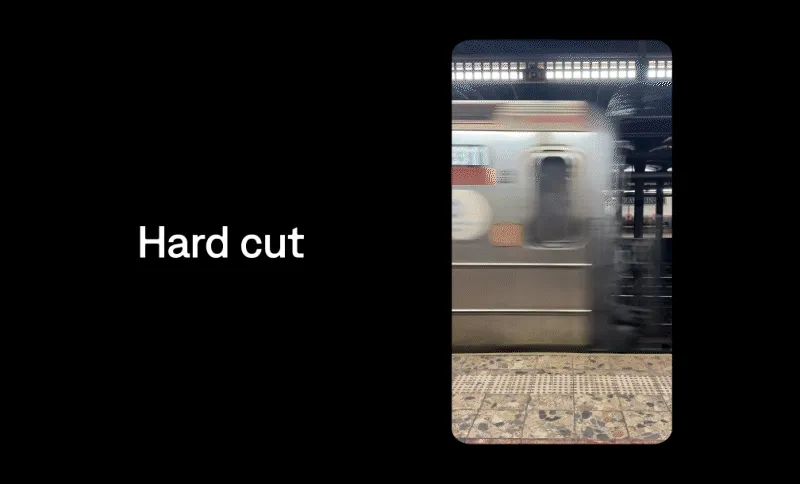
Hard cut
The hard cut is the most common scene cut in film. One shot ends, and the next begins immediately.
Hard cuts keep things moving without drawing attention. Because it’s a direct switch, viewers will notice the change. But because it’s seamless, it feels like a natural transition.
When to use it:
Hard cuts are the backbone of professional editing, so you’ll probably use some in every video. If you’re not sure which kind of cut to use, straight cuts are a good default. They keep videos feeling natural and fast, bringing viewers into the action.
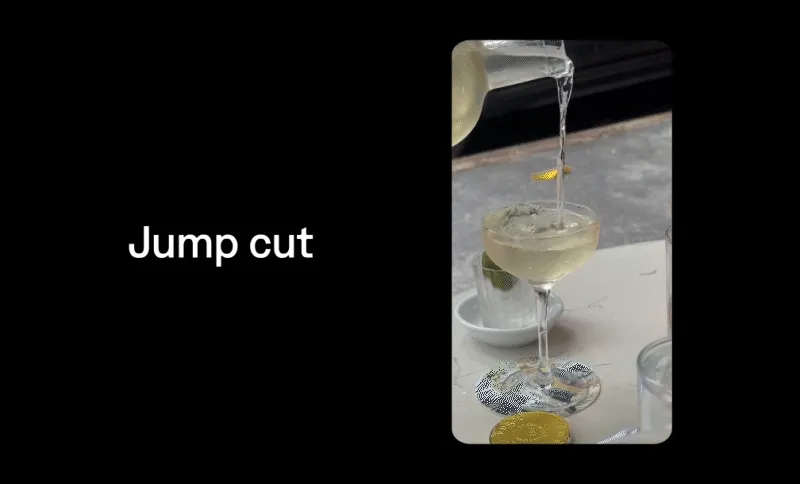
Jump cut
A jump cut transitions between two similar shots from the same footage. The video looks like it skips ahead, creating a noticeable jump in time or position.
When used deliberately, jump cuts create a snappy feel. Used accidentally, they look like bad editing. Jump cuts are a signature editing style for content like YouTube vlogs and recipe videos. They’re also popular in talking head videos where the speaker seems to “jump” between sentences.
When to use it:
Jump cuts can help tighten up dialogue or speed up pacing. Use them to create urgency or to eliminate dead space between important messages. You can also use jump cuts like an instant zoom. To do this, zoom in on the second shot slightly so it creates the zoom effect.
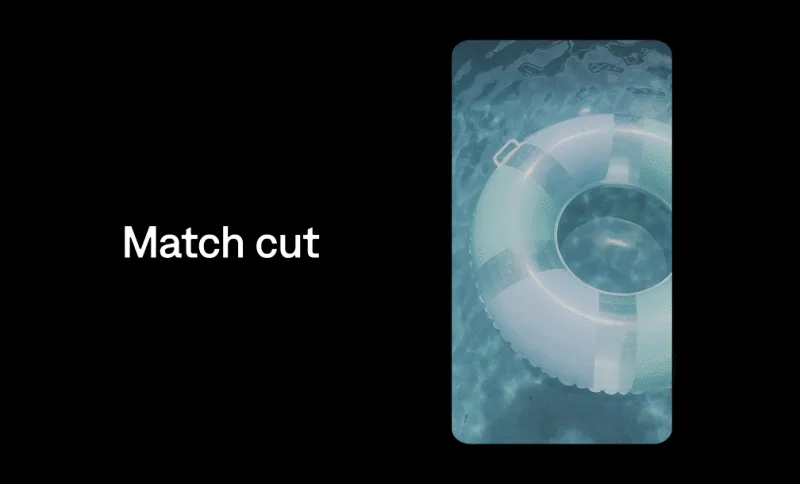
Match cut
A match cut connects two shots through visual similarity, movement, or composition. For example, a shot of someone closing a laptop might cut to a similar-shaped door closing in another scene. These cuts take a little planning, but they can create a very satisfying visual transition.
When to use it:
Match cuts help create visual storytelling and build smooth connections between scenes. Use them to show the passage of time or drawing parallels between two ideas.
Cutaway
A cutaway briefly moves away from the main action to show something related, like an object, environment, or reaction. For example, you might cut away from a speaker to show a picture of what they were talking about.
When to use it:
Cutaways can add context or give more information without interrupting flow. You can use cutaways in talking head videos to show more context about what the speaker is describing.
Cutaways are also helpful to smooth out awkward transitions in your footage. They can cover up mistakes, like a spot where you had to cut out audio unexpectedly. Editors sometimes use cutaways to bridge sections that were re-arranged or had footage cut out while work was still in progress.

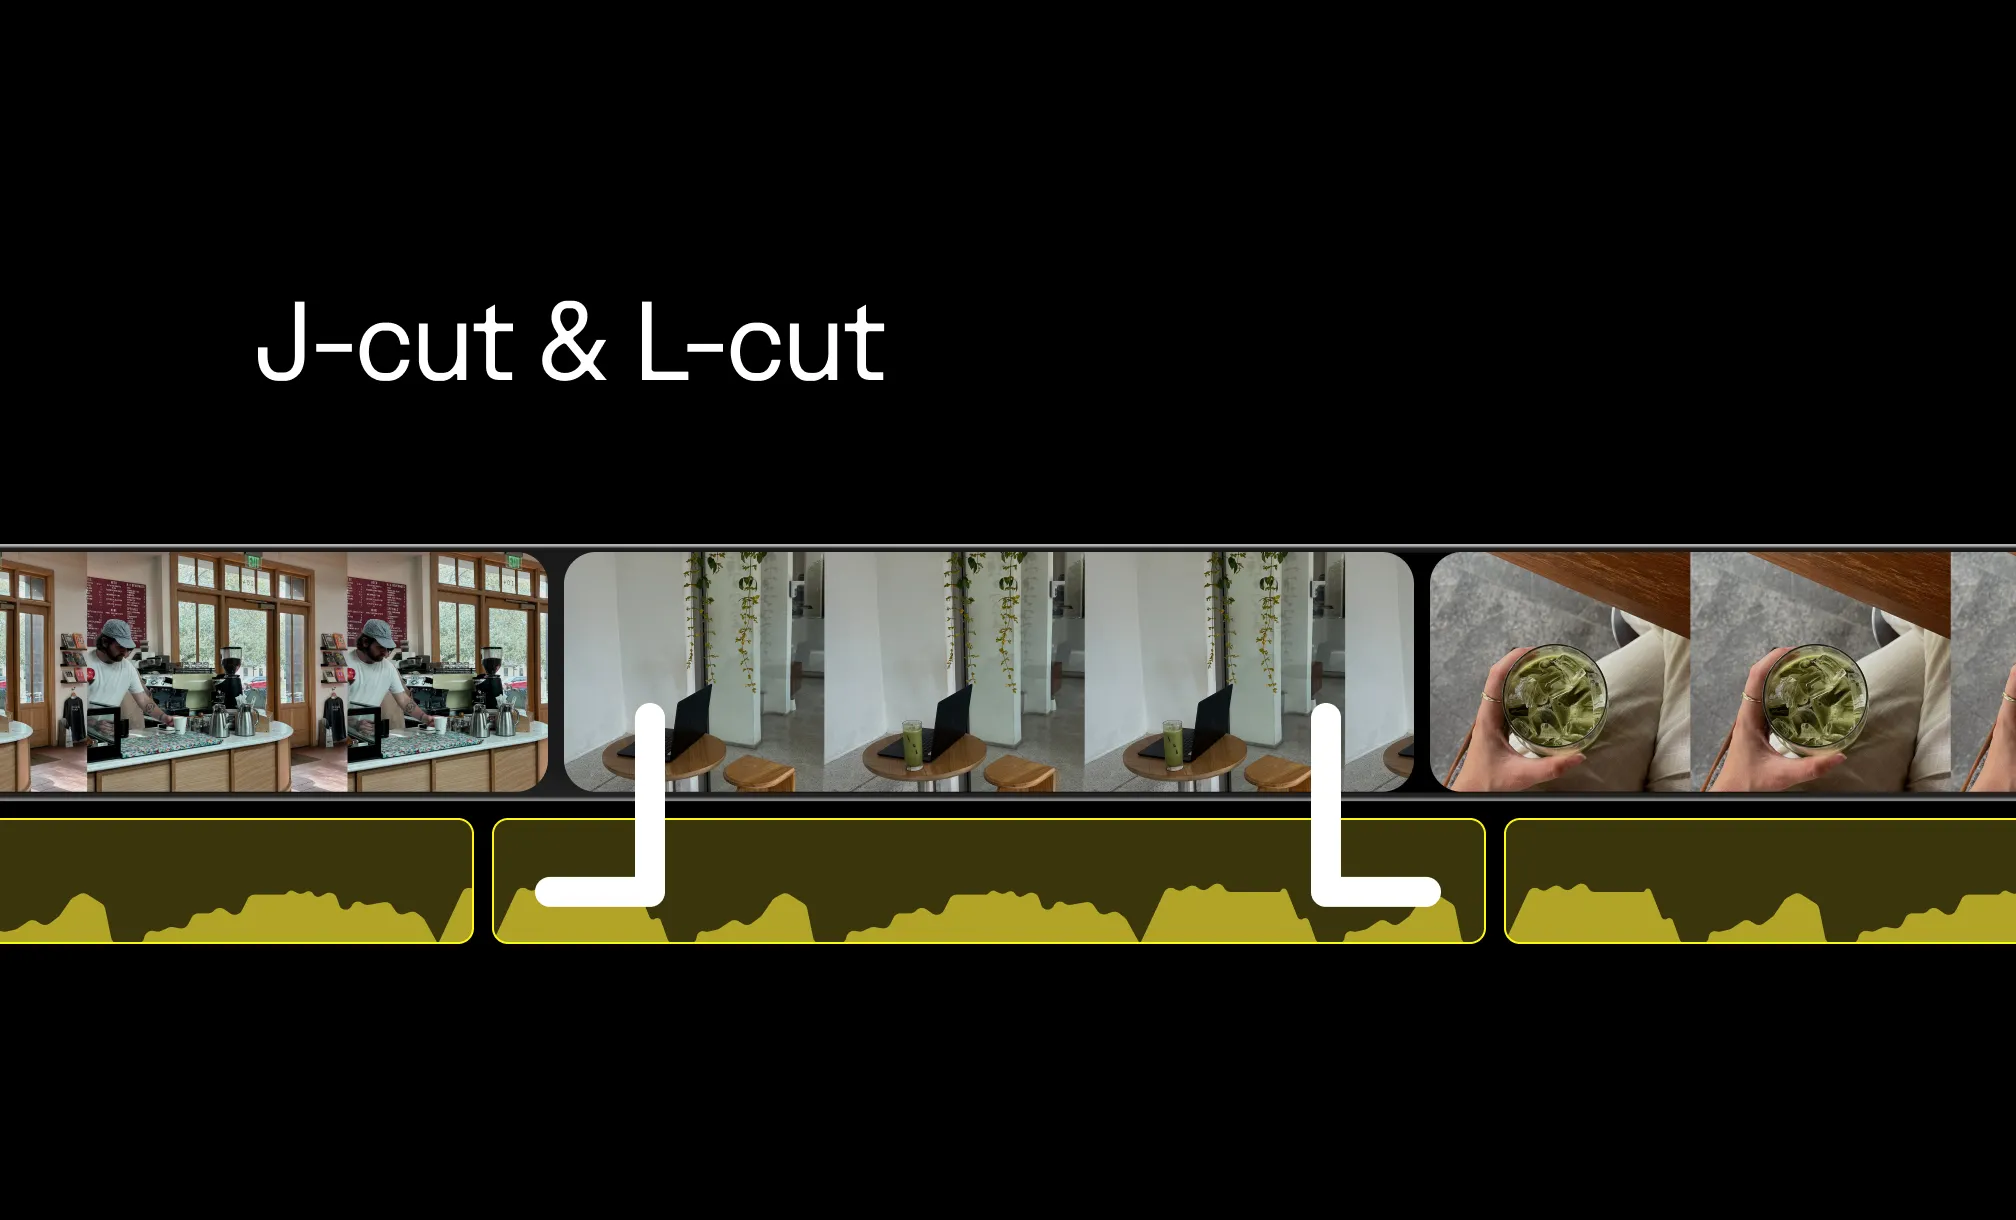
L-cut and J-cut
These cuts interplay the audio and video between scenes, intentionally setting elements out of sync. An l-cut stretches audio from the first scene into the second scene, even as visuals change. Meanwhile, with a J-cut, new audio starts before the scene changes.
Both techniques create smoother transitions because it feels like real life, where elements change more organically.
When to use them:
Use L-cuts or J-cuts to help smooth transitions between different scenes in your video. They can help improve flow and make videos feel more polished. They can also make dialogue feel more natural.
Common mistakes to avoid when using cuts in video editing
Knowing the types of cuts is half the battle. The other half is knowing what not to do. Here are the most common mistakes editors make, especially in short-form and social media content.
Cutting too early or too late. Timing is everything. If you cut before an action is complete, it feels unfinished. If you hold a shot too long before cutting, you lose momentum. Try to cut at the natural end of an action or sentence.
Killing the energy. Where you cut impacts how people feel. Think about the effect you want your video to have, and use cuts to build that. Sometimes you might want a long pause to help emphasize awkwardness, or you might cut mid-sentence to emphasize chaos. Where you place the cut helps heighten emotion.
Relying on transitions instead of cuts. Wipes, dissolves, and zoom effects might feel creative, but they don’t always match your actual story. Most of the time, a clean cut does the job better. Save effects for moments when they genuinely add meaning.
Ignoring audio continuity. A cut that looks fine visually can still feel jarring if the audio jumps abruptly. Background noise, music, and speech all need to flow smoothly across cuts. This is exactly where J-cuts and L-cuts earn their keep.
Accidental jump cuts. If you're editing a talking-head video and just trimming out pauses, you'll likely end up with jump cuts. That's fine if it's your style, but if it's unintentional, it looks sloppy. Cover those cuts with b-roll or use a cutaway to bridge the edit cleanly.
Inconsistent pacing. Shorter videos live and die by pacing. If a video jumps between very fast cuts and very slow shots without a reason, it can feel messy or confusing. Make pacing decisions deliberately, matching the rhythm of your cuts to the energy of the content.
Not cutting enough. One of the most common beginner mistakes is leaving too much footage in. Every second that isn't earning its place is a second a viewer might check out. Be ruthless. If a shot doesn't add information, emotion, or energy, cut it. As you’re starting out, it might help to get feedback from other people on what feels critical or cuttable.
Cut the manual cuts with AI editing
Now that you understand the most common types of cuts, the next challenge is actually applying them while editing.
Placing cuts well takes time. You have to review footage, adjust timing, and experiment with pacing. When you're editing a single video, that’s manageable. But when you're producing content regularly, those small decisions add up quickly.
That’s where AI editing can help.
Tools like Captions can automatically analyze your footage and suggest cuts based on pacing, dialogue, and visual changes. Instead of manually trimming every pause or adjusting every transition, you can let AI handle the first pass and refine from there.
Captions still includes full timeline editing when you want precise control. But if speed matters more, you can switch to AI Edit and choose from a library of editing styles. The AI reviews your footage and applies cuts where they’re most effective, helping your video maintain a natural rhythm without hours of manual work.
There’s also a chat-based editor that lets you guide edits with simple prompts. For example, you could ask the editor to tighten pauses, add a cutaway, or insert a hard cut at a specific moment. The AI applies the change instantly, and you can keep refining it with additional prompts.
Instead of spending hours adjusting clips frame-by-frame, you can focus on what really matters most: storytelling.