

Publish & Export Your Videos from Captions
Overview
After you’ve recorded, generated, and edited your video, you can export your project to your device. Basic editing features can be exported on the Free plan. Most AI-powered features require an active subscription to export.- Mobile
- Web
Important
- While subscribed to Pro, you can export an unlimited number of Pro projects. However, if you are subscribed to Pro you must upgrade in order to export Max or Scale projects.
- While subscribed to Max, you can export an unlimited number of Pro and Max projects.
- While subscribed to Scale, you can export an unlimited number of Pro, Max, and Scale projects.
Export your project
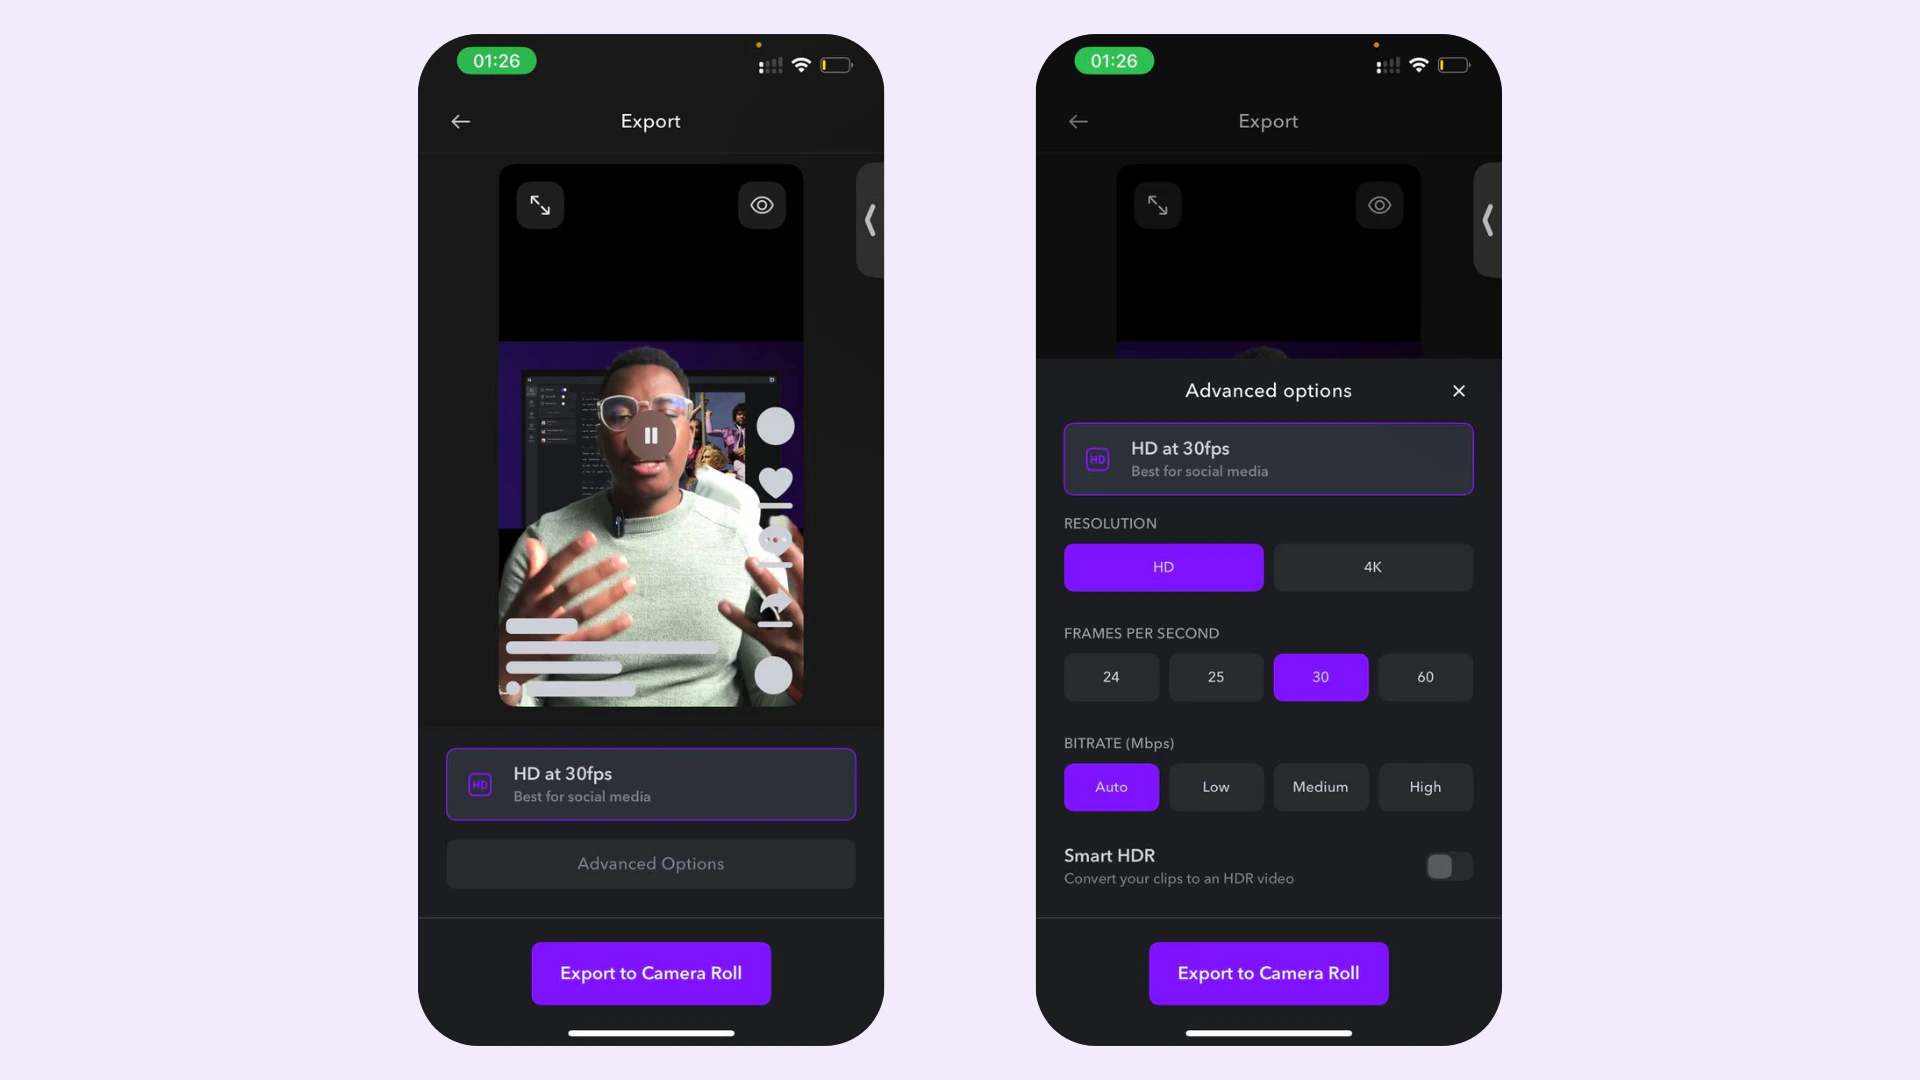
To export your project:- Select Export
- Choose your export settings
- Select Export and your video will be downloaded to your device.
Advanced options of Export
- Choose the resolution of the export
- Choose the frame rate of the export (higher FPS gives smoother video quality)
- Choose the bitrate of the export (higher bitrate gives better video quality)
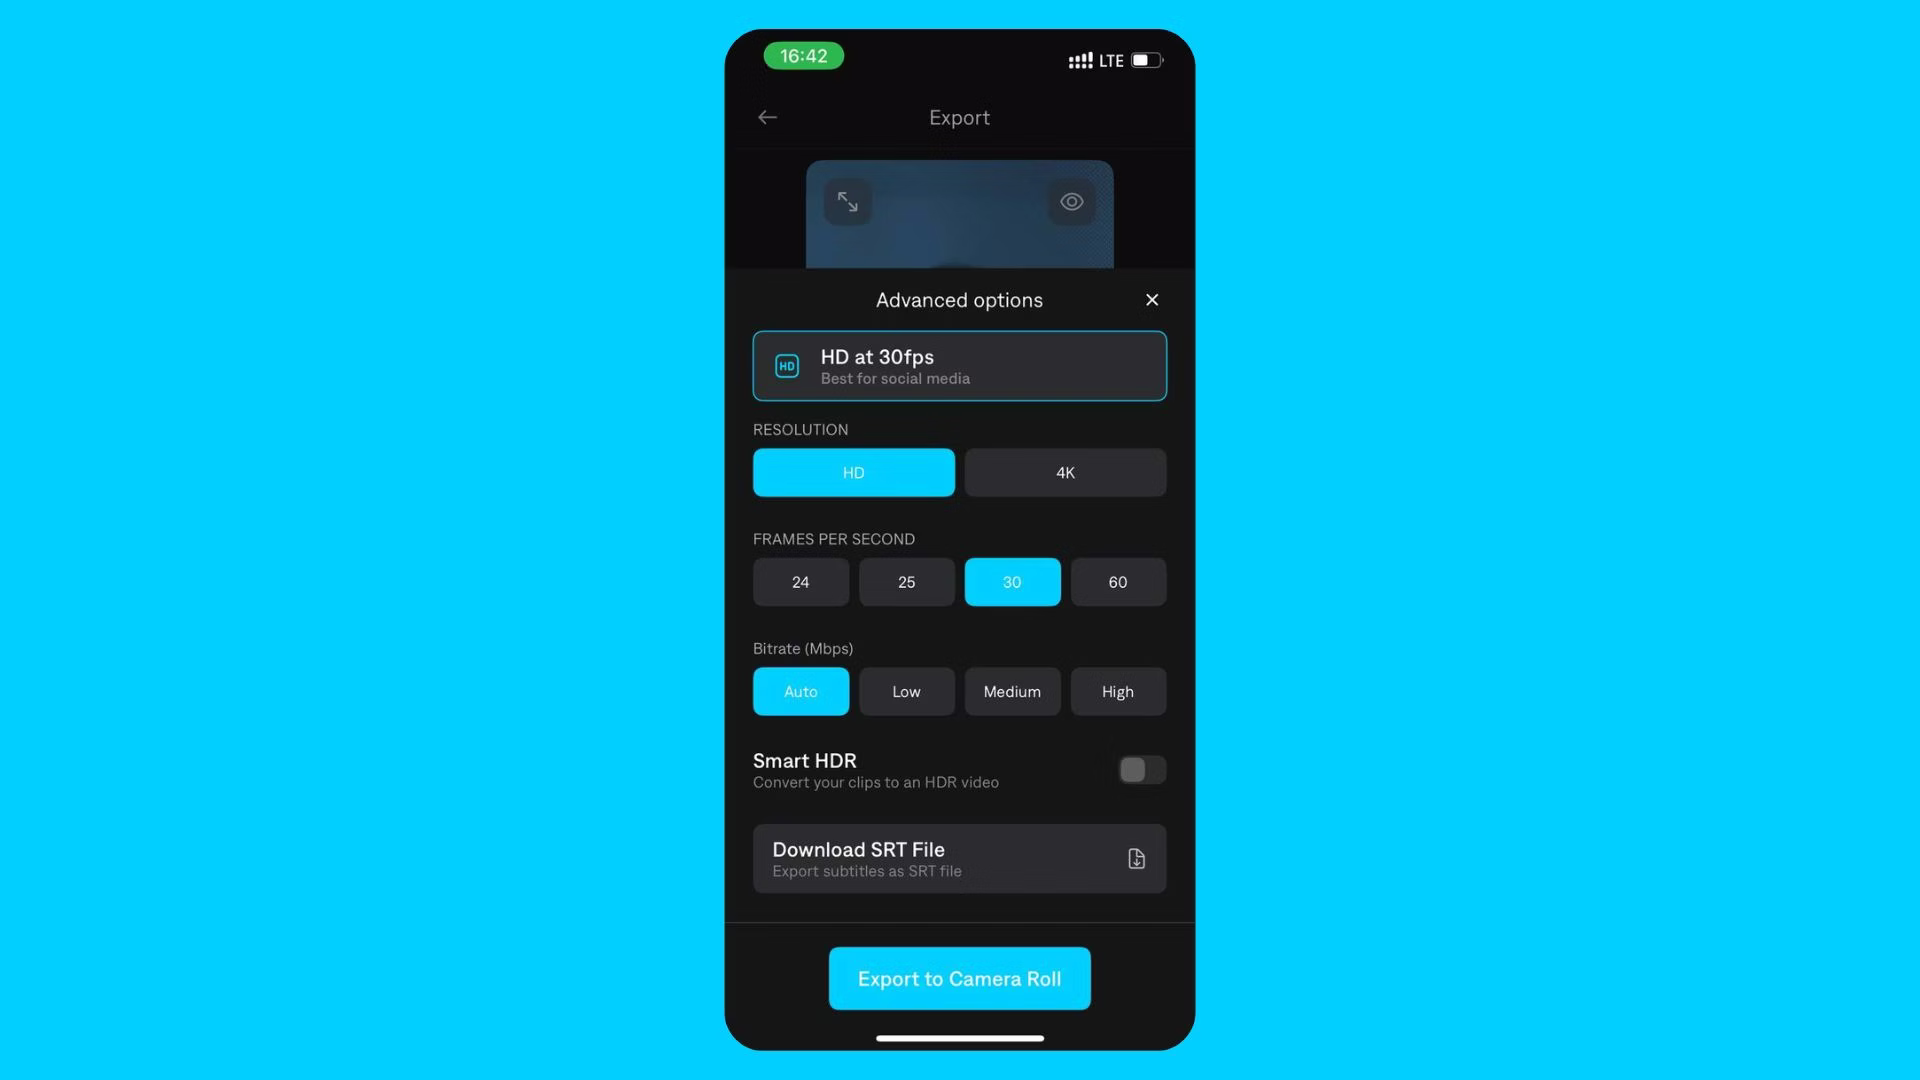
- Enable/disable Smart HDR for the export (your original video must support HDR for this option)
- Download the generated captions in a separate SRT file
Tips
- To export your project without captions, simply hide your captions before exporting.
- Before exporting, you can adjust the scale of your project.
- If you’ve already subscribed but are being asked to pay again, you may have accidentally created two accounts. Learn how to restore your subscription.
Frequently Asked Questions
Which export settings should I choose?
Which export settings should I choose?
For best results, we recommend exporting with the same settings as your original video. To check your original file settings:iOS
- Open the Photos app
- Find your original video.
- Swipe the video up to view the details.
- Open the video in Quicktime
- Click Window from the top navigation
- Click Show Movie Inspector
What is HDR?
What is HDR?
HDR stands for “high dynamic range” and many cameras let you capture video with this setting enabled. When you shoot with HDR, your camera will take multiple recordings at different exposures and blend them together to create a final result that has more details. Web does not support HDR videos. If you notice any issues with your exported video, check to ensure HDR is disabled on your device and/or your editing software.
What is bitrate?
What is bitrate?
Simply put, bitrate refers to the amount of information or data contained in your video, per second. A lower bitrate has less information and a higher bitrate has more information. We recommend using the Auto option, but you can change the bitrate information to purposely decrease or increase the exported file size.
Why does my exported file have a different file size than the original?
Why does my exported file have a different file size than the original?
When you export a project from Captions, it may be exported in a different file format than the original file. It’s important to know that smaller file sizes don’t necessarily mean lower quality and if you are importing to social, many platforms compress your file anyway.
Do I need to pay to export?
Do I need to pay to export?
It depends on what features you used. Basic manual editing can be exported on the Free plan. If your project uses AI-powered features — such as AI Edit, captions styles, eye contact correction, or background music — a paid subscription is required to export. You’ll be prompted to subscribe when you attempt to export a project that uses paid features.