
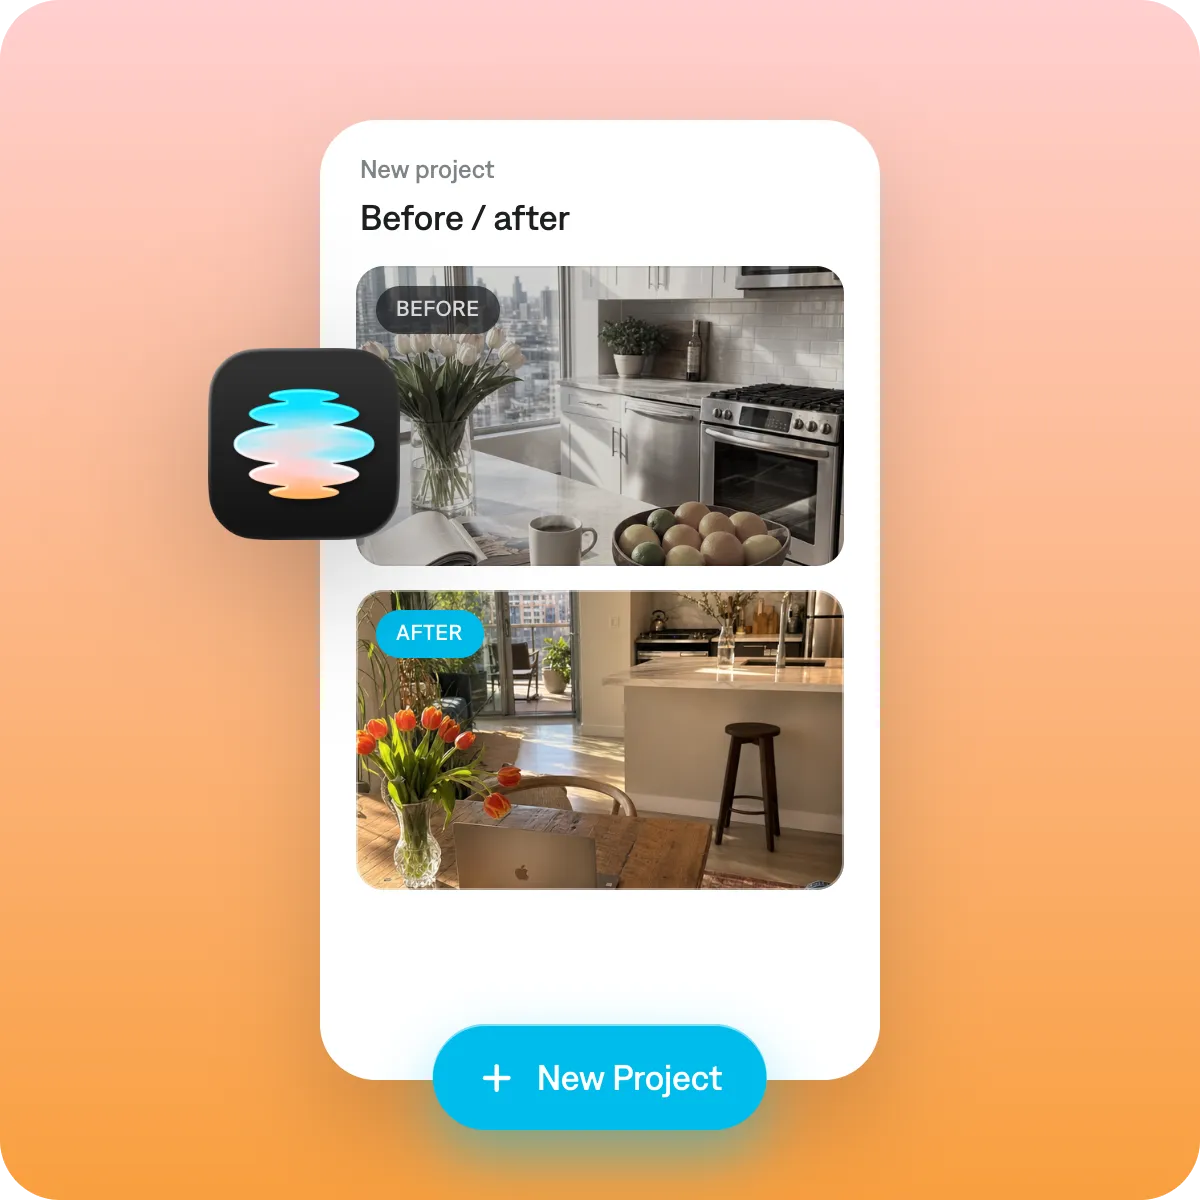
Create before-and-after videos that celebrate results
Features you'll love:
Easy editing
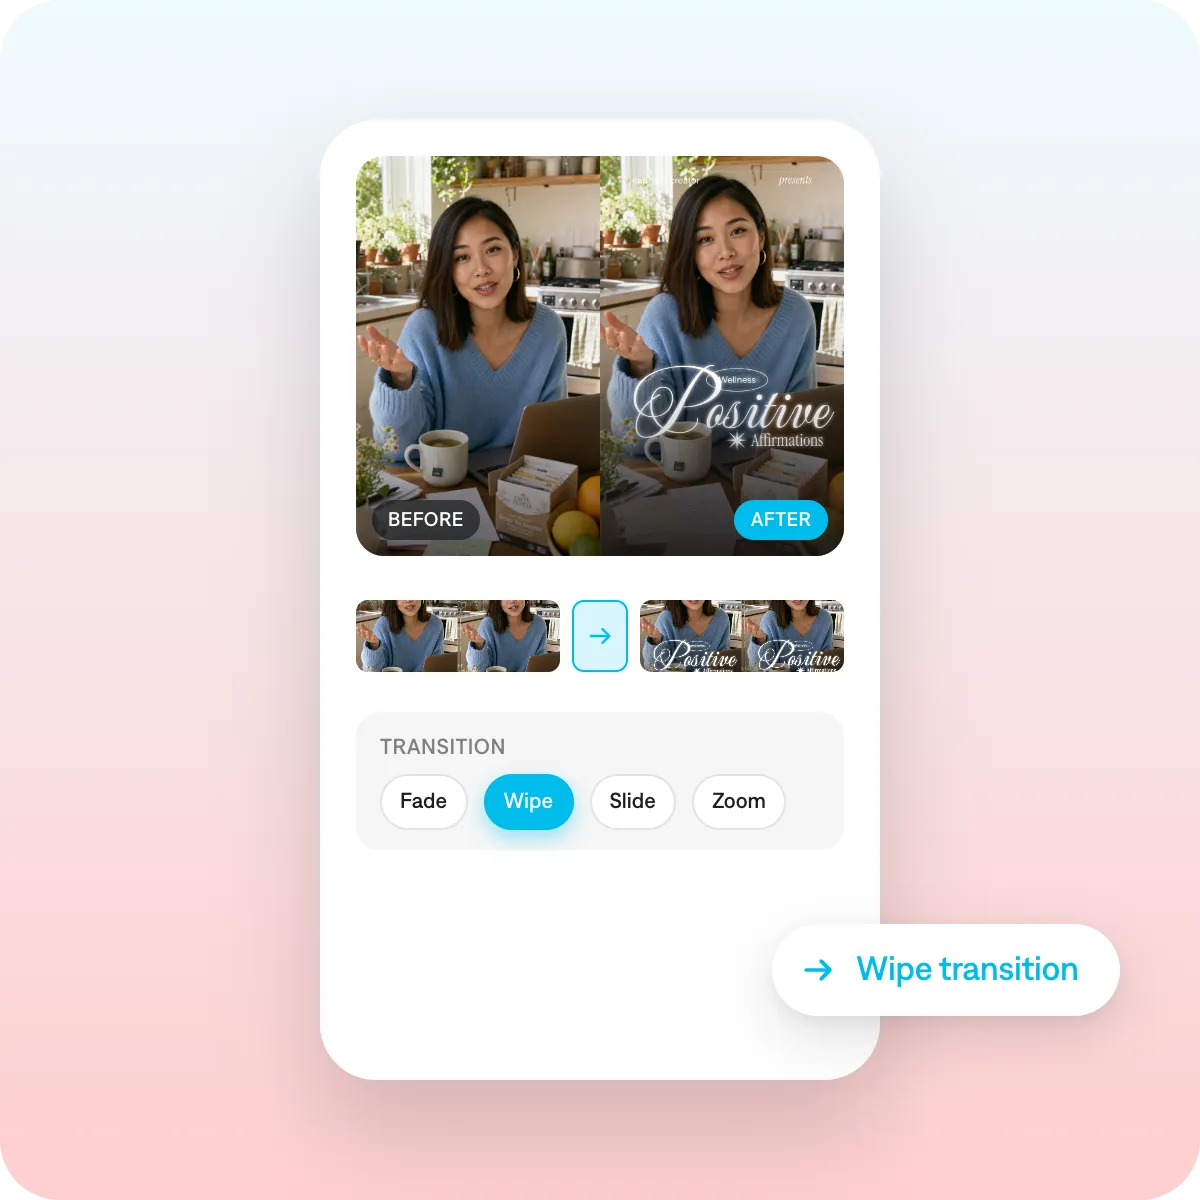
Combine before-and-after clips seamlessly, in a single workflow. Captions can add split-screen layouts, insert transitions and adjust timing. For the quickest option, pick an AI Edit style and edit the whole video in one tap.
Details that fit the format
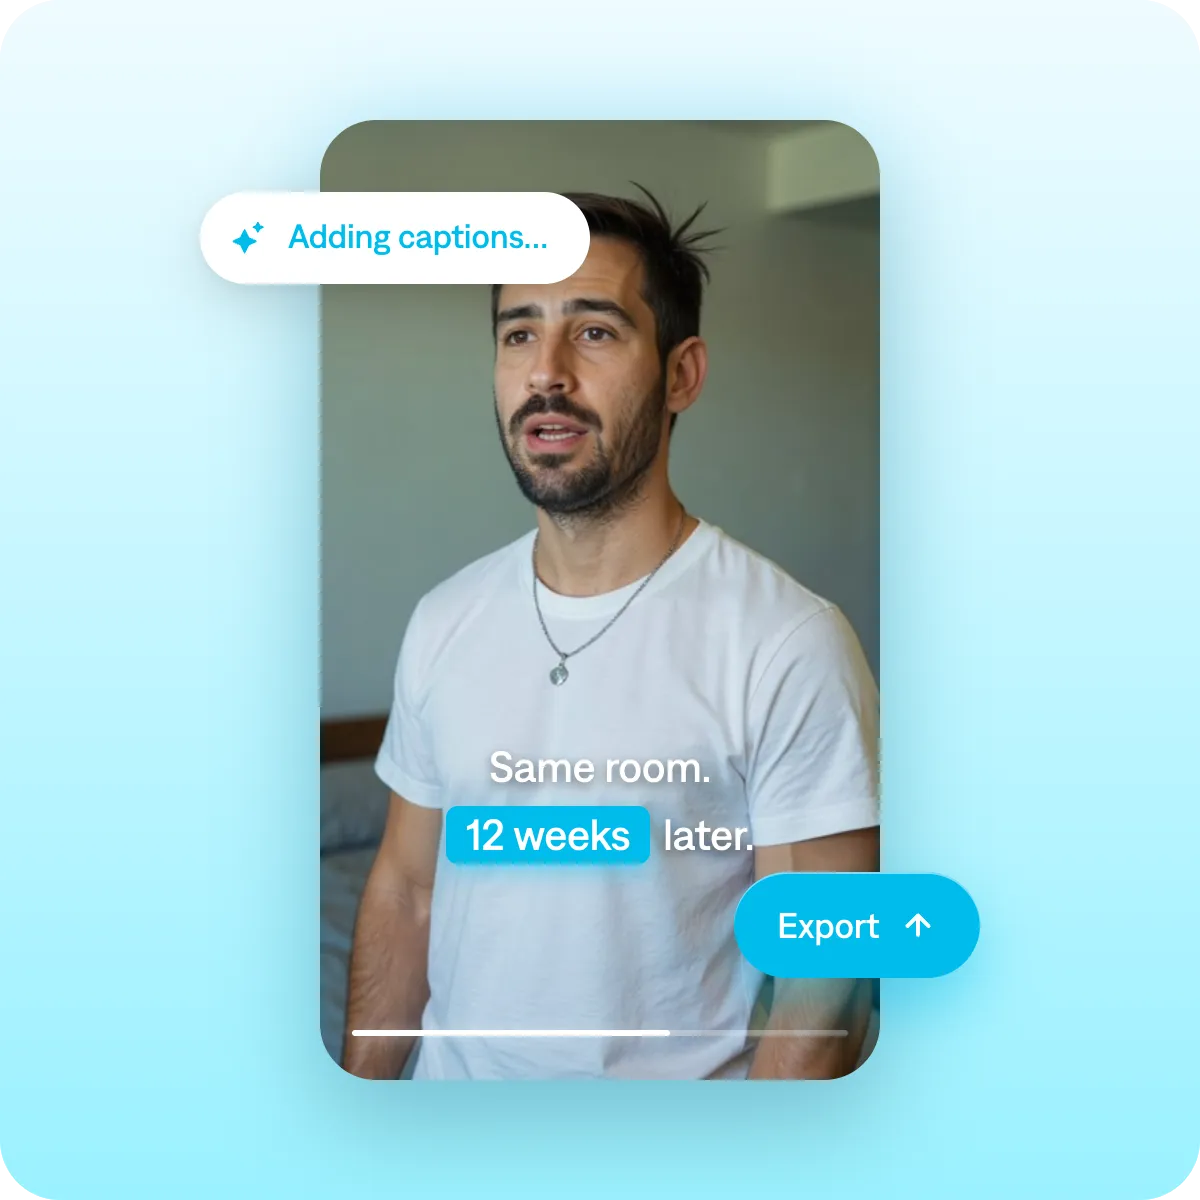
Our transformation video maker customizes your video to maximize engagement. Stylized on-screen text calls out key steps and big reveals, keeping viewers hooked.
Add your footage to start
By uploading a video to be edited using AI, you are agreeing to our Terms and have read our Privacy Policy.
How to make a before-and-after video in Captions
Step 1
Import both your before-and-after clips. You can also add your own photos or other images if you want them included in the edited video.
Step 2
You can edit directly in the editor panel, using simple buttons to make changes. Or, use AI Edit to edit the entire video in one tap.
Step 3
Pick the platforms you want to post on, and Captions automatically exports in the right specs.
Best practices for transformation videos
Be specific
Share specific, concrete details about the process behind your transformation video. For example, "Build muscle in 6 weeks with this exact workout" is better than "6-week workout plan." When you're specific, viewers are more likely to believe results are achievable.
Use the same framing for both shots
Keep framing as identical as possible for the before-and-after shots. The two things that make it read as a real transformation are framing and consistency. Same angle, same lighting, same distance from camera. Inconsistencies make results look less dramatic and reduce credibility.
Always add captions and helper text
Make sure your videos are equally engaging when the sound is off. Accurate captions are a must so people understand exactly what's happening. You can also add text overlay, diagrams, or animated labels to draw attention to important parts of the video.
Get started now
Explore popular editing styles
Frequently asked questions
What niches work best for before-and-after content?
Before-and-after content videos are especially useful to showcase results. People often use them to show their expertise, celebrate a hard process or stun viewers with transformation. Top transformation videos often come from people like fitness creators, beauty creators, designers, DIY experts, and life coaches.
What's the best format for before-and-after videos on social media?
Side-by-side or sequential reveal formats both perform well. You want to make sure people feel invested in the journey and the outcome so focus on transitions and timing to help amp up the drama.
How do I make a before-and-after video on my phone?
You can do it entirely in a mobile editor without any extra gear. The core steps are the same across most apps: film or import your "before" clip, then your "after" clip, trim each to the moment that shows the change most clearly, and place them back to back on the timeline. Add a quick on-screen label like "Before" and "After" so the structure is obvious even with sound off, and keep the whole thing short. Most strong before-and-afters land the payoff in the first few seconds.
How do I make a transformation video without editing experience?
You need a video editor that's designed for non-professionals. Professional video editing tools are powerful, but also complex to learn. You often have to work with finicky timelines and make a lot of small, manual changes.
Instead, look for an AI video editor. They're often designed for non-professional audiences who simply want to make great videos—not become experts. For example, we built Captions so anyone can use it. You can edit an entire video at once, use an easy editor to pick the right settings or even chat to edit.
How do I create a split-screen before-and-after video?
Split-screen layouts show both states at once instead of one after the other, which works well when the change is subtle or you want viewers to compare details. In most editors you do this with a layout, overlay, or picture-in-picture feature: add your first clip, then add the second as a second layer, and resize each to fill half the frame (top/bottom or left/right). The key is matching the two clips so the dividing line makes sense. Otherwise, it looks like two unrelated shots stuck together.
A vertical split (left/right) usually suits faces, products, and rooms; a horizontal split (top/bottom) often fits landscapes or wide spaces. If your editor has a "mask" or "split" transition, you can also wipe from before to after across the screen, which reads as a single continuous shot. Keep any divider line clean and add labels if it's not instantly obvious which side is which.
What makes before-and-after videos perform well on Instagram and TikTok?
The biggest factor is showing a hint of the payoff fast. These platforms reward watch time and replays, so videos that tease the "after" in the first second or cut between the two quickly tend to hold attention better than videos that drag on. A few things consistently help: a strong visual contrast between the two states (the more dramatic the change, the better it performs), text on screen since most people watch muted, and a satisfying transition or beat-synced cut that gives the reveal a moment of impact.
Finally, make sure to add context in the caption or opening text ("3 months of this routine," "$40 thrift flip"). This gives viewers a reason to care about the result and a reason to comment, which drives the engagement these algorithms respond to.
How do I make a before and after video on my phone?
You can do it entirely in a mobile editor without extra gear. The core steps: film or import your before clip, then your after clip, trim each to the moment that shows the change most clearly, and place them back to back on the timeline. What makes it read as a real transformation is framing and consistency — shoot both clips from the same angle, distance, and lighting so viewers compare the result, not the camera setup. A simple trick is to mark where you stood (tape on the floor, or lining up a fixed object in frame) so the after matches the before. Add on-screen labels and keep it short, since the strongest before-and-afters land the payoff in the first few seconds.
What app is best for making before and after transformation videos?
It depends on how much control you want. Built-in editors (the native Photos app, Google Photos, or the tools inside Instagram and TikTok) are fine for a quick cut between two clips. Free dedicated mobile editors give you more control over split-screen layouts, transitions, and text. Desktop tools are useful if you're batching many at once or need precise alignment. Honestly, for most before-and-afters the editor you already have plus careful filming matters more than which app you pick — choose based on whether you need side-by-side split screen and how much you care about polished transitions.
How do I create a split screen before and after video?
Split screen shows both states at once, which works well when the change is subtle or you want viewers to compare details. In most editors you do this with a layout, overlay, or picture-in-picture feature: add your first clip, add the second as a second layer, and resize each to fill half the frame. The key is matching the two clips so the dividing line makes sense — same zoom, same subject position, same lighting. A vertical split (left/right) usually suits faces, products, and rooms; a horizontal split (top/bottom) often fits landscapes or wide spaces. Keep the divider clean and add labels if it's not instantly obvious which side is which.
What makes before and after videos perform well on Instagram and TikTok?
The biggest factor is showing a hint of the payoff fast. These platforms reward watch time and replays, so teasing the after in the first second — or cutting between the two quickly — holds attention better than making people wait. A strong visual contrast between the two states helps, as does text on screen since most people watch muted, and a satisfying transition or beat-synced cut that gives the reveal impact. Vertical, full-screen framing (9:16) matters, and loopability helps too — if the end flows back into the beginning, people rewatch. Context in the caption ('3 months of this routine,' '$40 thrift flip') gives viewers a reason to care and a reason to comment.